Note: Just like all step-by-step instruction posts, this page has many pictures. Please allow time for the page to completely load.
In this step-by-step tutorial, you will see how to update Java.
Automatic updates
Often, in the middle of working on something entirely different, a Java prompt will pop up on your screen similar to this one:
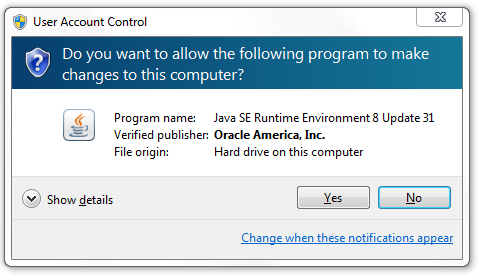
In my opinion, Java should not scare users by requesting strange permissions without warning or context. Java is asking for permission to perform steps necessary for an automatic update. What you see in this picture is the Windows User Account Control prompt. This is a security measure to ensure that unwanted programs don’t have access to important parts of your computer without your consent. Before saying yes, be sure that the verified publisher is Oracle America, Inc. and the program name is Java. If this information is correct, always click ![]() .
.
Next, you will likely see a notification from the bottom-right of your screen, indicating that a Java update is available.
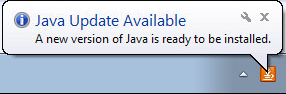
Click anywhere on that notification, and you will see the Java update installation screen.
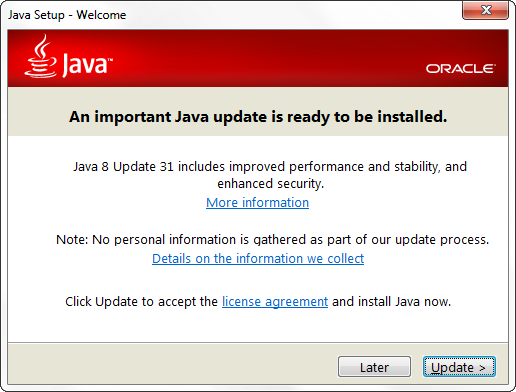
Click ![]() , and Java will begin to download.
, and Java will begin to download.
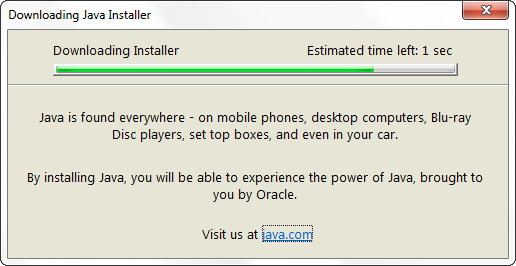
After Java has finished downloading, it will automatically begin installing itself.
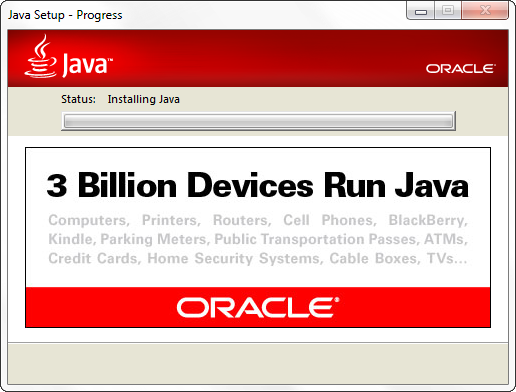
When the installation is completely done, you will see the message “You have successfully installed Java”.
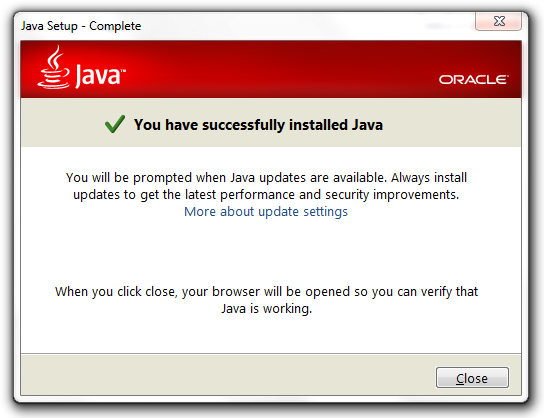
At this screen, click ![]() . The Java update will open a web page in your browser, asking you to verify the java install.
. The Java update will open a web page in your browser, asking you to verify the java install.
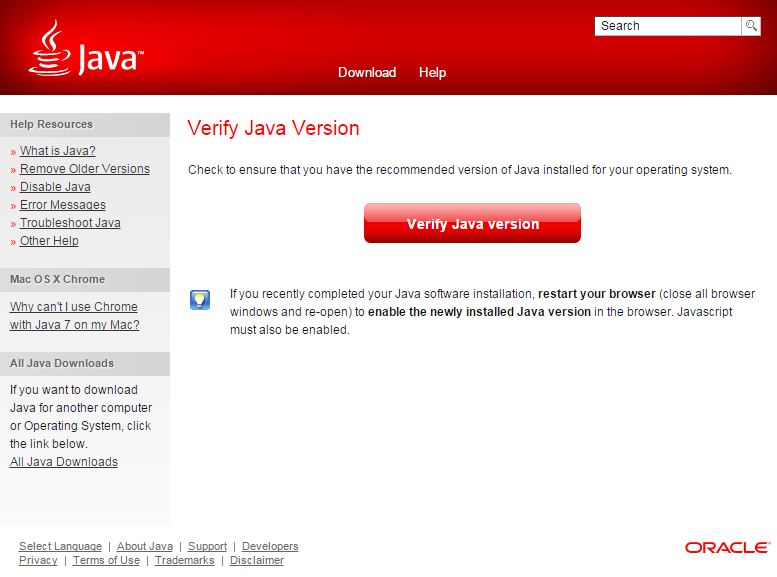
At this point Java is already installed, and verifying Java is most likely unnecessary. I always recommend ignoring this page. Simply close it using the ![]() at the top right of your browser.
at the top right of your browser.
Updating Java manually
If Java does not update automatically, or if you have dismissed the update prompt, you can update java manually. First, click the Start button at the bottom left of your screen. Note: This will look different on different versions of windows. In general, it will look like a flag.
![]()
Next, on the start menu that pops up, you will see a search box.
![]()
This box is automatically selected, so type the word “Java”. The start menu will show you results for programs named “Java” on your computer.
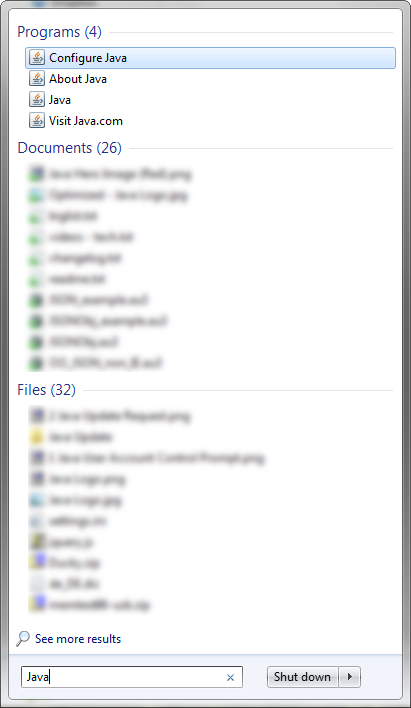
Click on ![]() . You will see the Java Control Panel.
. You will see the Java Control Panel.
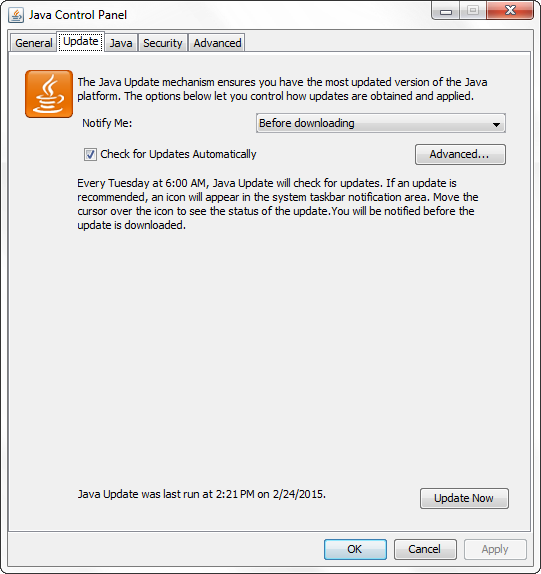
From here, click ![]() . If updates to Java are available, you will see a prompt to update. To update, follow the instructions above. If there are no updates available, you will see the following message.
. If updates to Java are available, you will see a prompt to update. To update, follow the instructions above. If there are no updates available, you will see the following message.
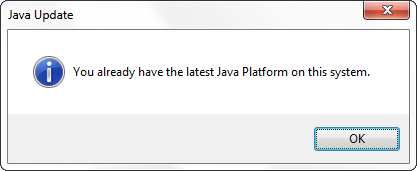
If you do, simply click ![]() . Afterwards, close the Java Control panel with the
. Afterwards, close the Java Control panel with the ![]() at the top right.
at the top right.
Congratulations, you have successfully updated Java!